I really need to update the page that leads to the before and afters of our split level fixer upper. Over the past year, as I was doing home school with my three kiddos, enjoying the summer with my family, and really not blogging much at all, we managed to cross a few more updates off our to-do list. Some of them have been small (like updating a window valance) and some have been big (we put new carpet, bedroom doors, and closet doors in the upstairs bedrooms!).
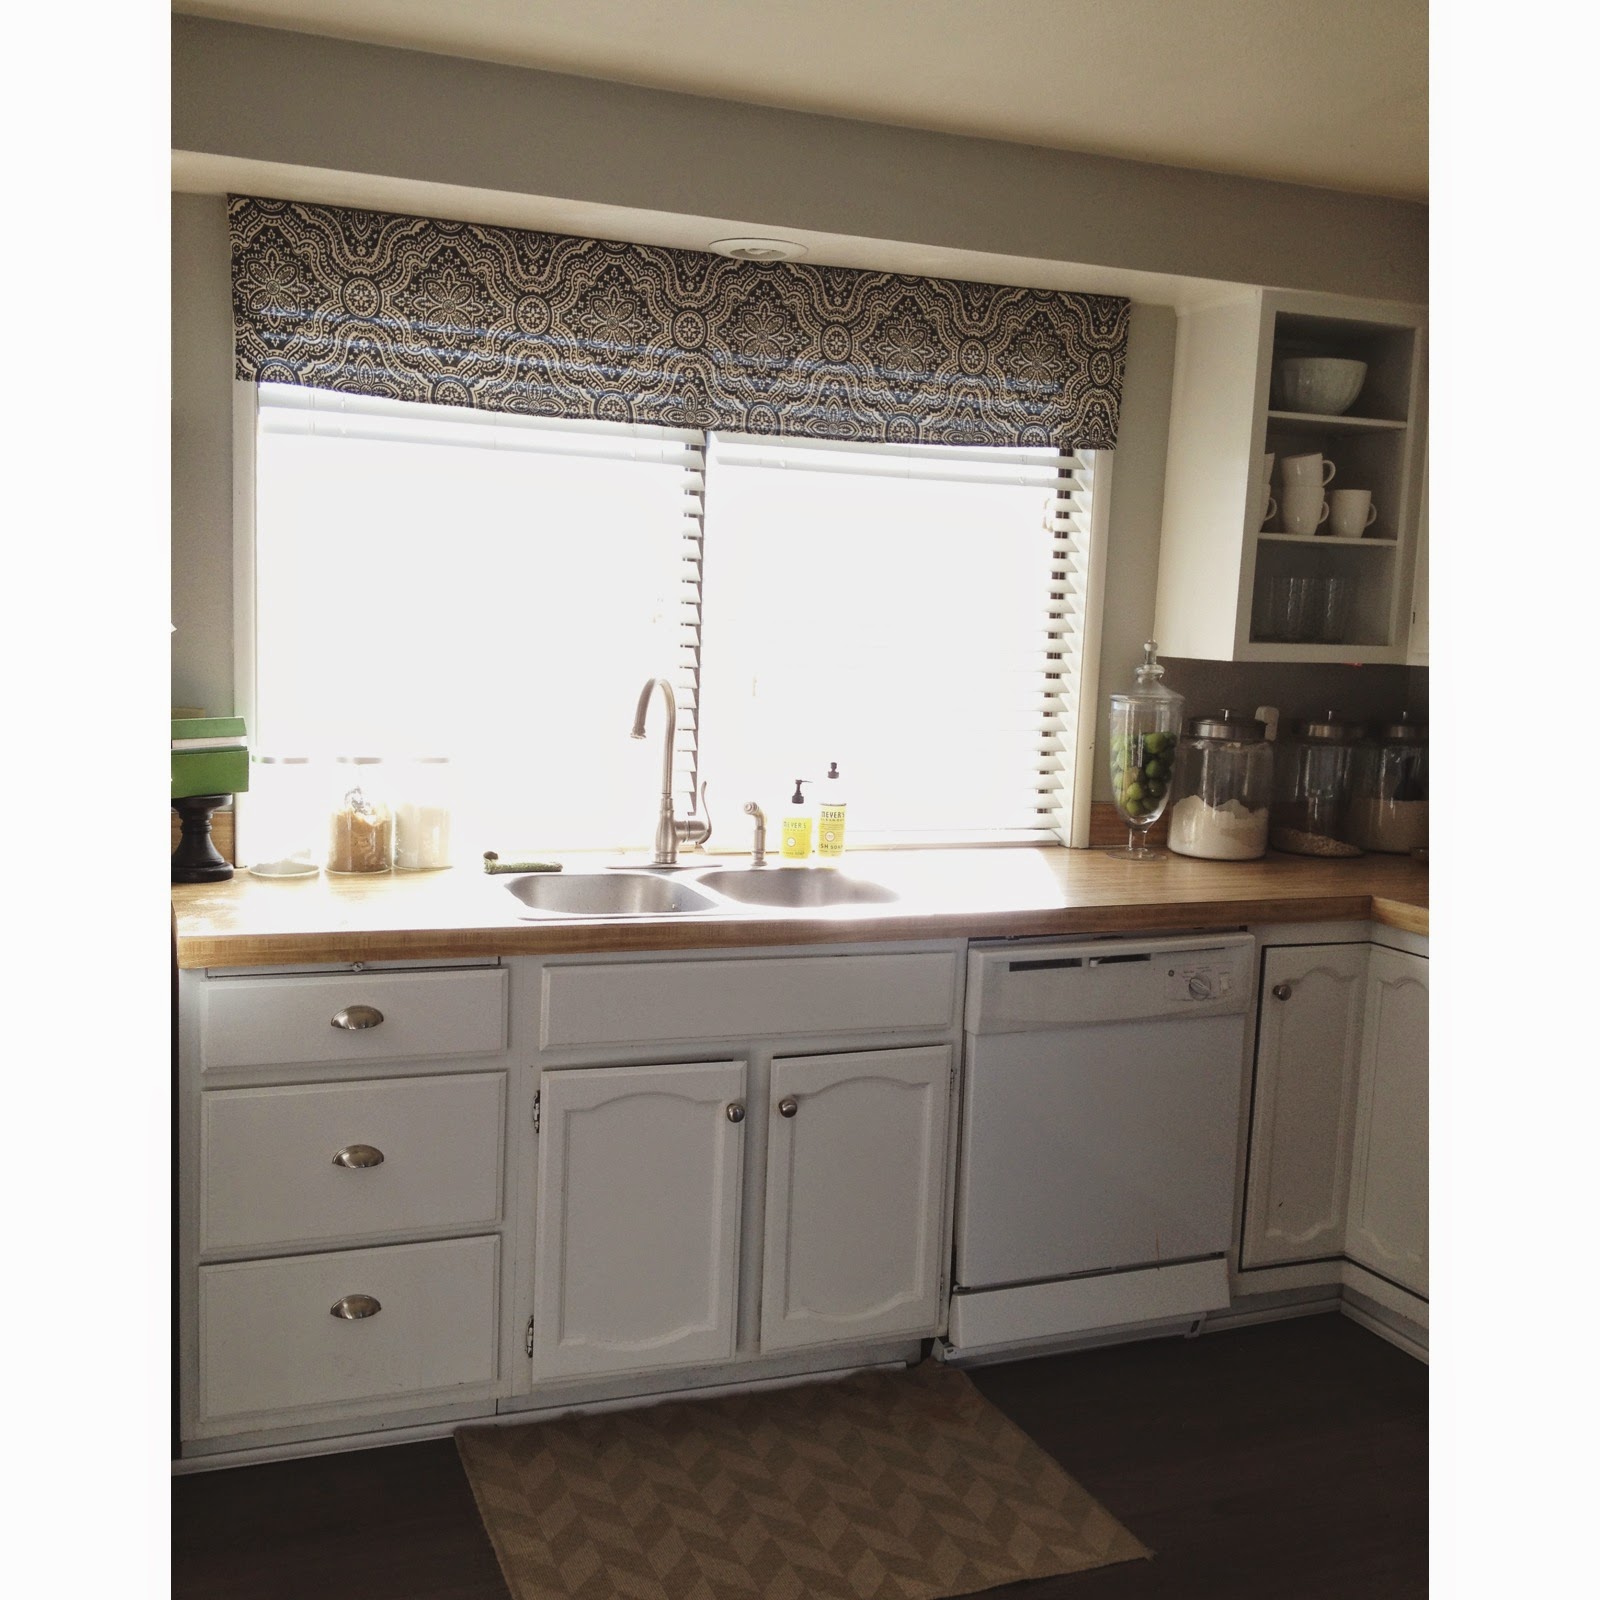
Ok, so let's start with the window valance in the kitchen. This was an easy update. I did the same thing I did in this post. I just ripped off the old burlap and replaced it with some new fabric from Hobby Lobby.
Another more recent update I did was paint our front door. While we've updated a lot of the inside of our home since we bought this house five years ago, the outside has not had a major overhaul yet, nor will it get one for a couple of years. New siding, garage doors, etc. are muy expensivo. It will take a while longer to save up for those things. In the mean time, I make do with the itty bitty changes that a cheap tiny can of paint can do.
I didn't get a before shot of the front door, but it was just an off-white color that needed to be freshened up. I chose to repaint it a dark gray. (Cracked Pepper by Behr.) Also, because I only wanted to paint the door aaand I didnt want to spend very much money, I bought one of those 4 oz Behr Ultra Premium Interior/Exterior paint samples. It covered the whole door and I still have a little bit left over in the container for touch ups if need be. For under $4.00, this is one of my favorite "cheap" updates.
I didn't get a before shot of the front door, but it was just an off-white color that needed to be freshened up. I chose to repaint it a dark gray. (Cracked Pepper by Behr.) Also, because I only wanted to paint the door aaand I didnt want to spend very much money, I bought one of those 4 oz Behr Ultra Premium Interior/Exterior paint samples. It covered the whole door and I still have a little bit left over in the container for touch ups if need be. For under $4.00, this is one of my favorite "cheap" updates.
Now onto some of the bigger updates. See that old worn carpet up there. Ugly. Old. We seriously lived with it for five years. We knew when we bought this house, that we'd have to practice patience because not everything would get updated as quickly as we'd like. But finally patience has paid off.
Check out the tear out process! Nice, huh? The padding was so old that a lot of it literally had to be swept up into little dust piles. (Cough, cough!) After all the debris had been cleaned up, we sealed the floors with Kilz primer. This ensured that any old smells that were left behind from the previous 30+ years, went bye-bye before the new carpet was laid.
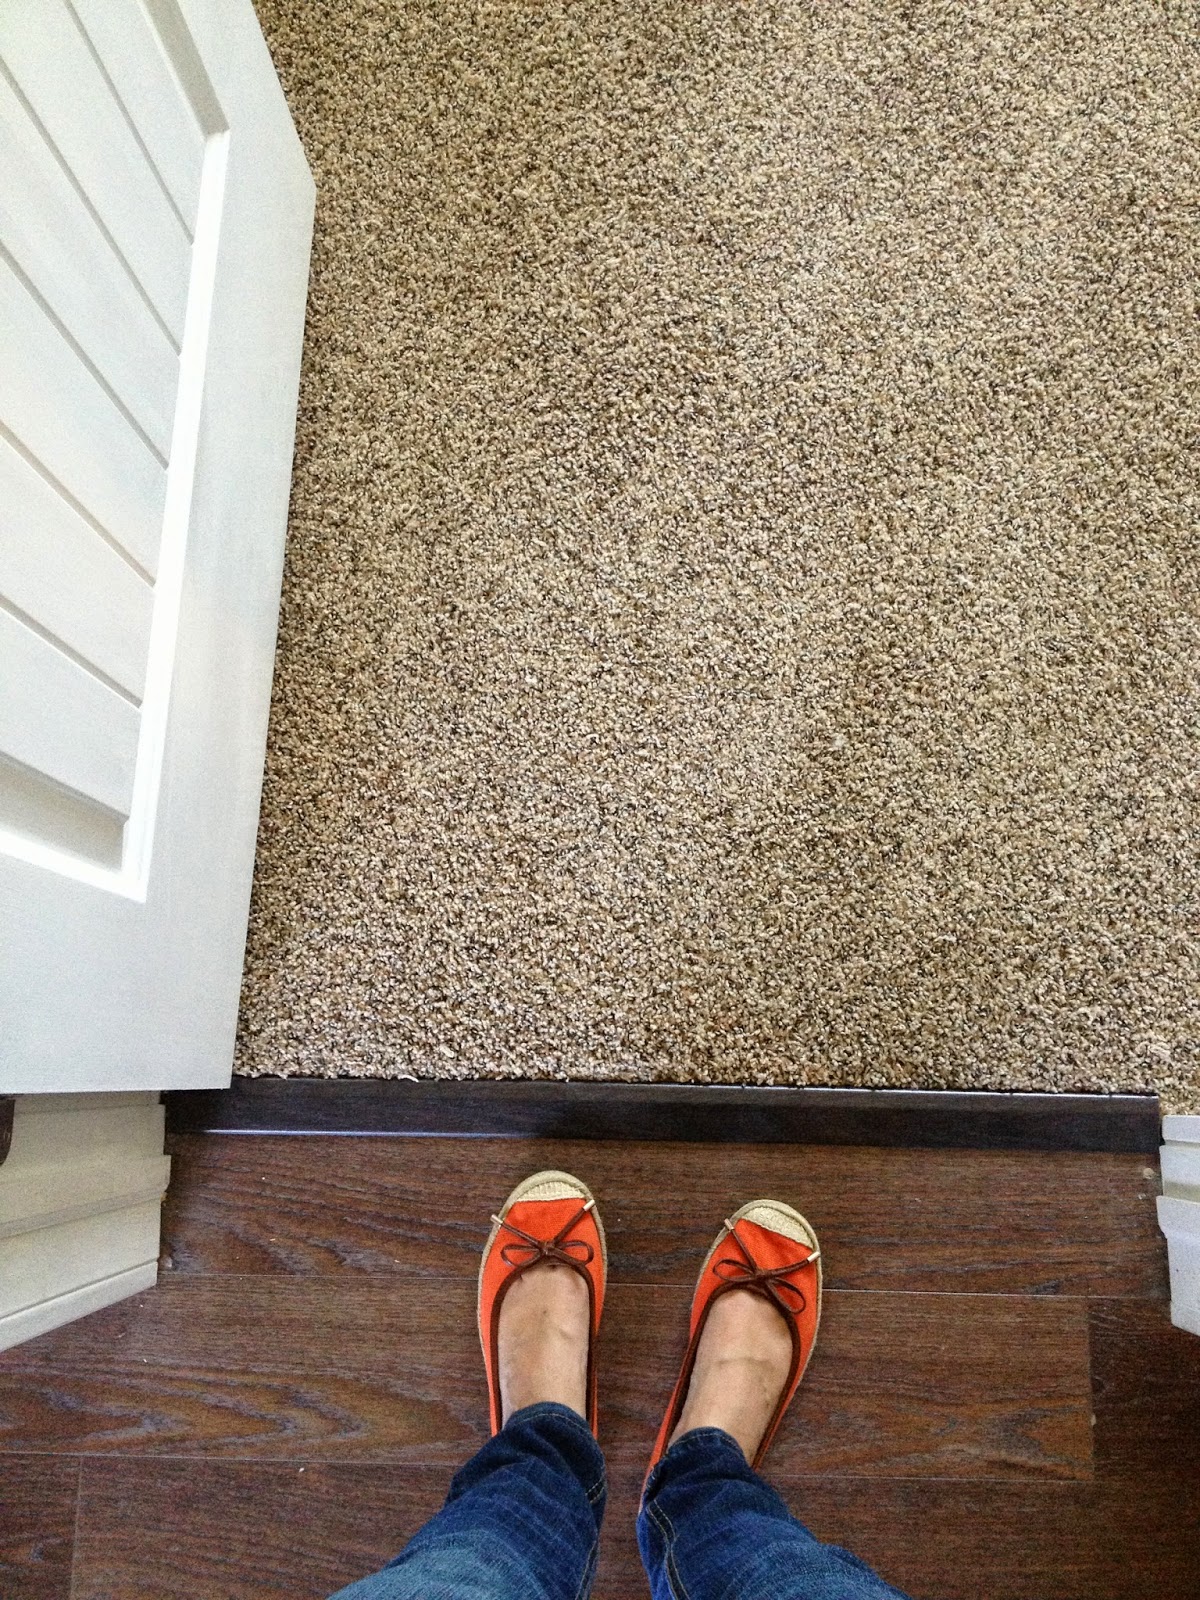
Ahh, this is better. Nice, new, clean carpet. We're in heaven over here and feel super blessed to have finally been able to make the switch from nasty carpet to nice carpet.
The last thing we've updated lately is our master bedroom. Over the last couple of years it looked like this. Right before the new carpet was put in, my husband made a board and baton wall, we painted the surrounding walls a darker gray, added some white grommet curtains and some new lamps from ikea, and ordered a new bed frame from amazon. I am totally loving it and feel so grateful for this bedroom update and all the other updates we've been able to make here lately.
Making a house feel like a home doesn't always happen as soon as the boxes are all unpacked. It takes time and patience, usually happening over weeks, months, and even years as you tweak and personalize every nook and cranny and build memories within the walls that shelter you.


1 comments:
It all looks soooo lovely!!
~Julia
Post a Comment