Pom pom garland is no new thing. I think Martha has done it and so have many others.
But just in case you haven't seen it done before, here is a tutorial on how to do this easy + inexpensive project yourself.
I hope you're nice and comfy
.
.
.
'cause here comes a bunch of pictures.
First things first, you have to make the little pom poms.
So take the tissue paper out of the package and lay it flat, leaving it still folded in half length wise.
Cut off a section of tissue paper that is about five inches wide ...you can make about 4-5 small pom poms out of one package of tissue paper.
Cut open the end with the fold.
With all the layers of tissue paper laying flat on top of each other, you are going to start making an accordion fold or a "fan" with the tissue paper.
After you've made your "fan", use a twist tie or a piece of wire
around the center to hold it all together.
To make the pom poms a little more round and fancy,
round off the edges with some scissors.
Now here comes the fun part.
Pull one layer at a time towards the center.
I think my pom pom had fourteen layers of tissue paper.
So I pulled seven layers towards the center in the front, then flipped it
over and pulled seven layers towards the center on the back.
Here's what the first side looks like.
Now do the same thing to the other side until it looks like
.
.
.
this.
Repeat the above process until you have as many pom poms as you want.
I made seven {using two packages of tissue paper}because that's how many pom poms fit nicely on the length of garland I wanted for my fireplace.
If you have a longer place you want to hang your garland, you'll need to make more so your garland can be longer.
I used fishing line to string my garland.
It only costs about two dollars at Walmart.
But if you don't have any or don't want to buy any, you could also use twine, yarn, or ribbon.
I like using the fishing line because it looks invisible after you hang it up.
So any-who
.
.
.
first decide where you want to hang your garland,
measure the space,
then cut your fishing line twice as long as the space where you are hanging it.
This is because you need room for tying knots and for the spaces you'll leave in between each pom pom.
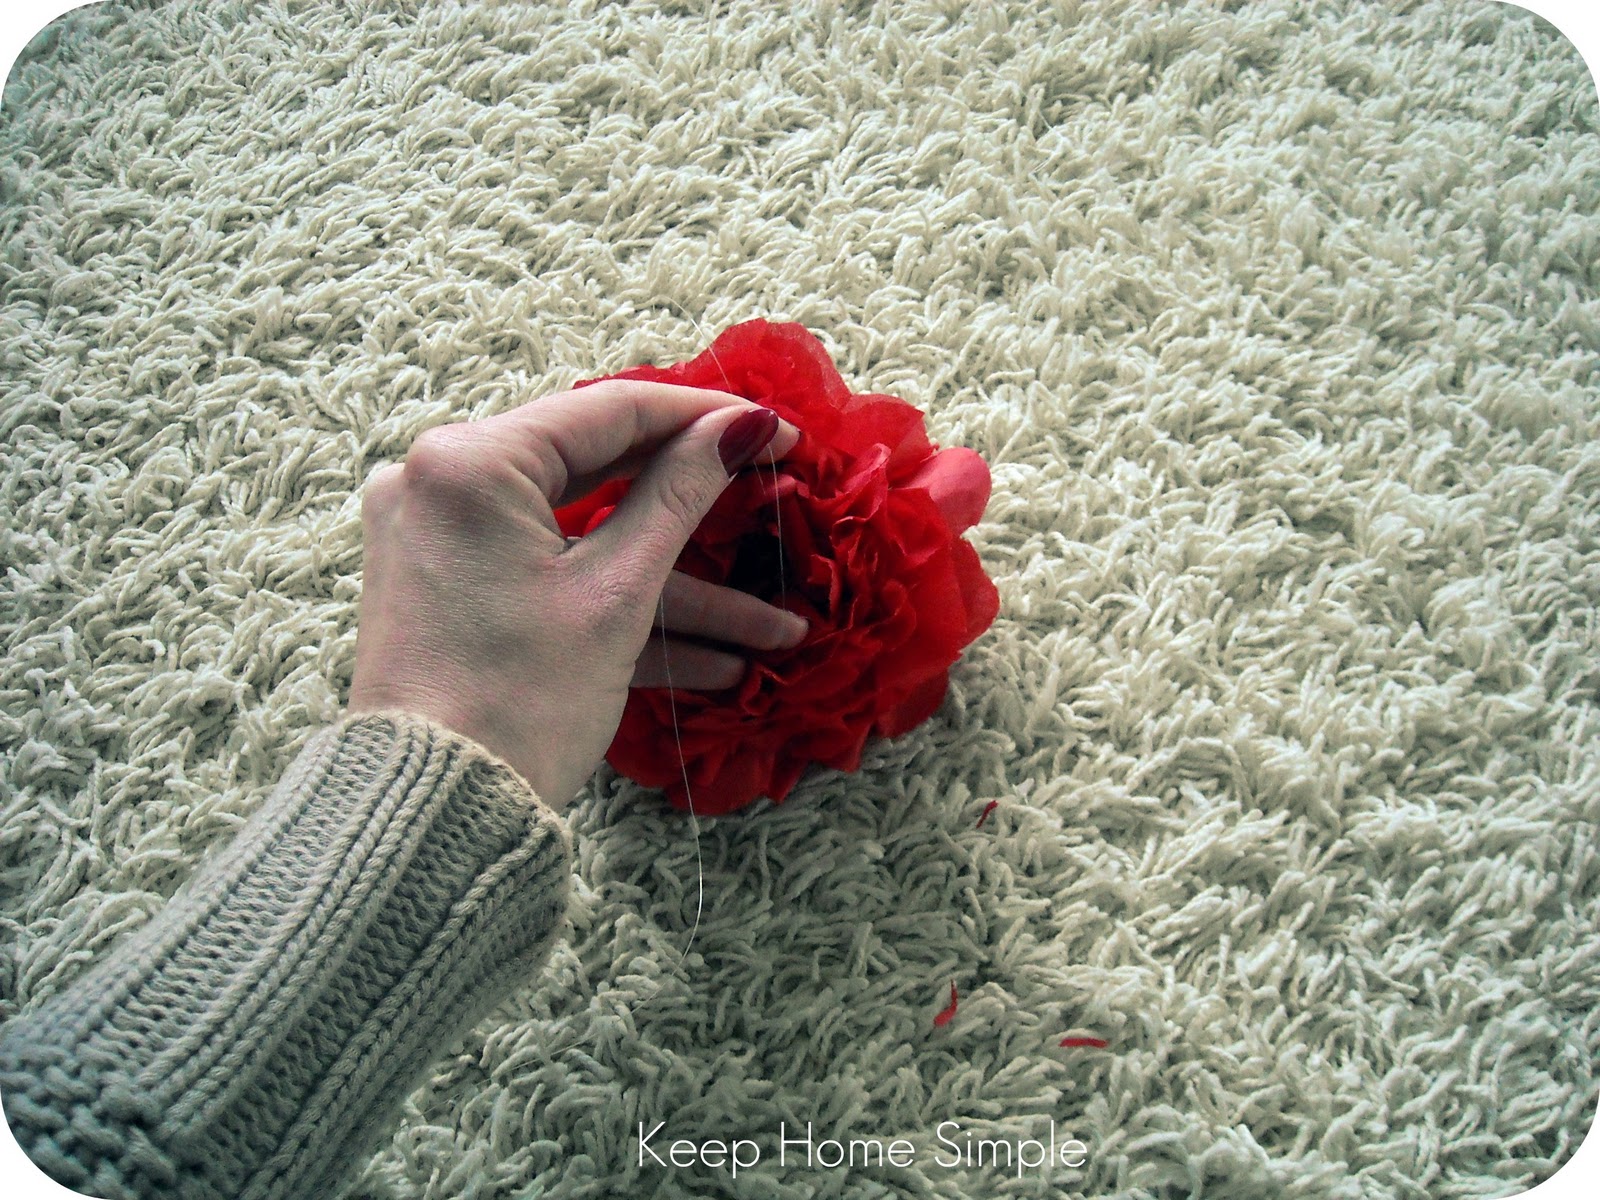
Carefully find the center of the pom pom where you tied it close with a twisty tie or wire.
This is where you are going to tie the fishing line.
So stretch the layers apart until you see the center, wrap around the fishing line, tie a couple of knots, and then fluff the pom pom back up so it keeps it's round shape.
Note: Leave about eight inches at the end of the first pom pom so that you have room to hang the garland when you are finished with it.
Once you've tied one pom pom onto the fishing line, leave about six to eight inches of fishing line inbetween the first one and the next one.
Keep tying on the rest of the pom poms until you've reached the desired length for your garland.
Pretty soon you'll have something like
...this.
I plan on hanging this garland on my fireplace once it hits February 1.
Until then, I'm still enjoying my January garland made out of white tissue paper with silver snow flakes on it.
Perfect for winter I think.
These garlands are so fun to make and the possibilities of where you could hang them are endless.
Fireplace mantles, wall ledges, stairways, kids bedrooms, playrooms, birthday parties {this would be super adorable if you did the poms poms in all different colors}would all be great places to use these.
Linked to: